Let’s talk Tempo…

The point where the weight changes direction is the exact place where everything can go right, or wrong!

The #1 piece of advice I have for people in the gym is this: Learn to use a controlled, deliberate tempo with close attention to detail at the points where the movement changes direction.

Mastering this practice would ensure far fewer injuries and getting more out of the exercises you are already doing!

My clients learn to move with this level of control and focus early on, and for good reason. Shouldn’t reducing the risk of injury and getting the most benefit out of their exercise be high on my list of priorities?

What’s that all mean?

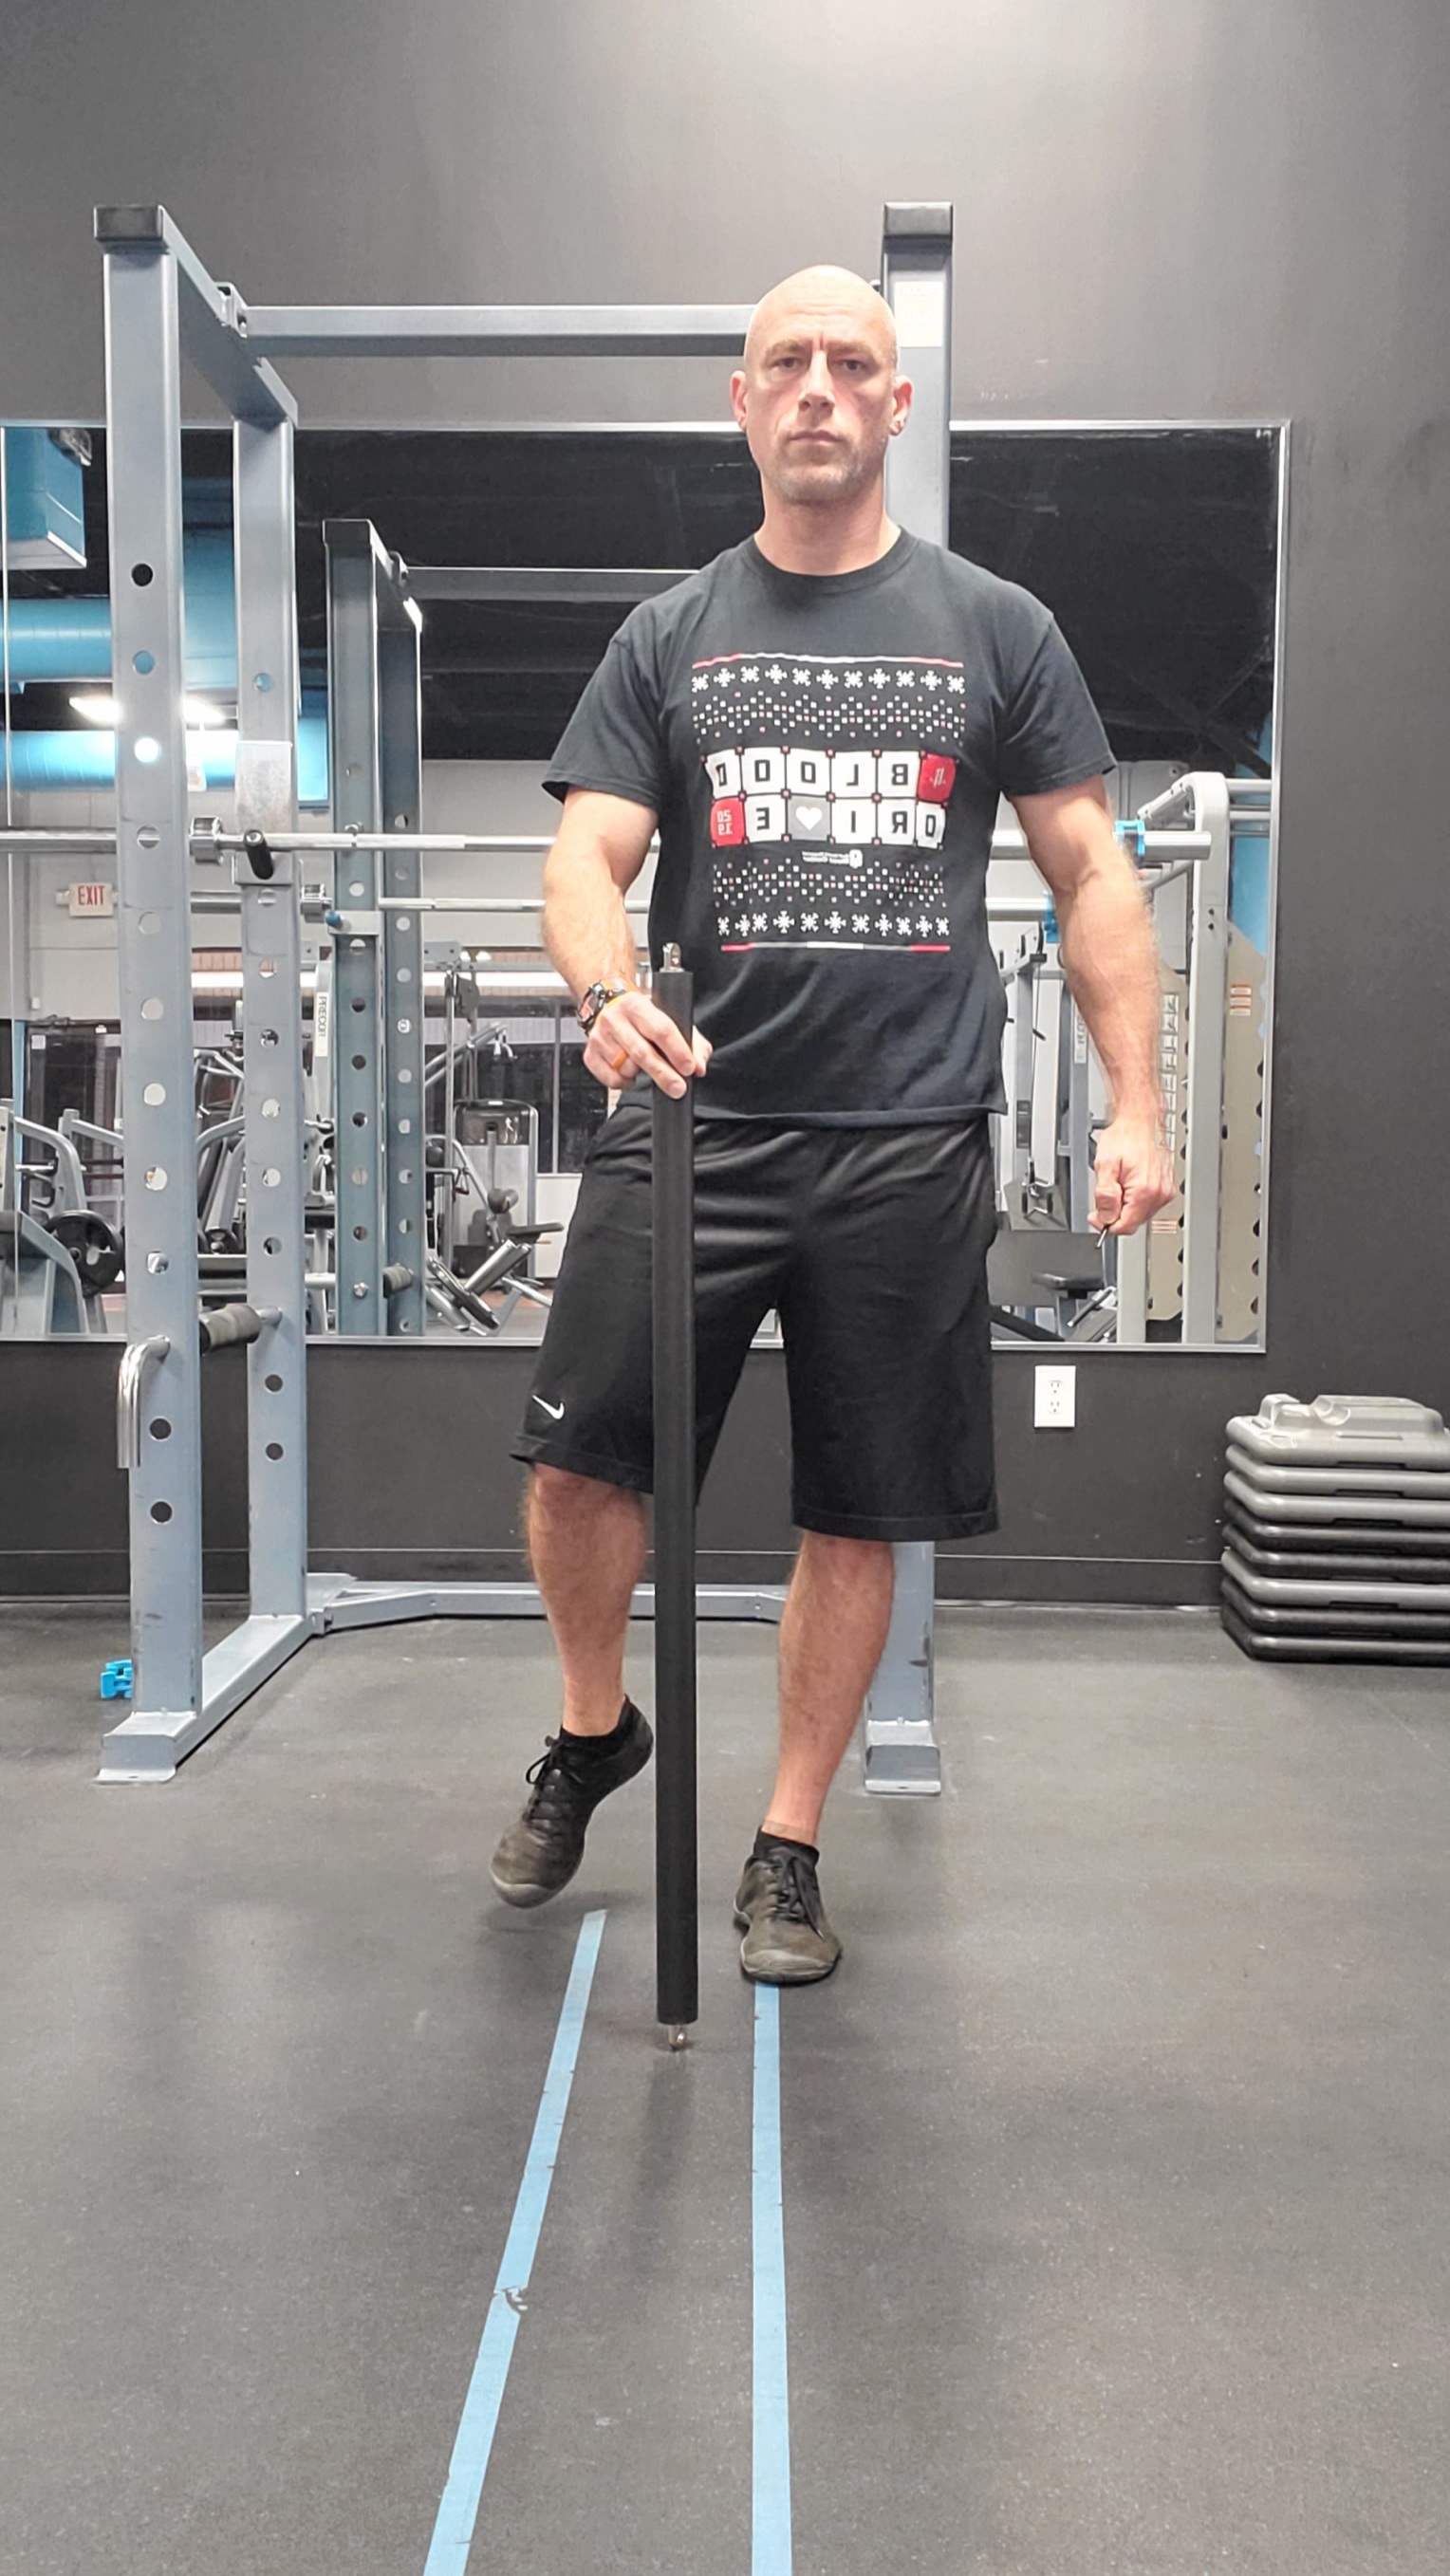
Watch the videos below.

Slow takeoffs and slow reverses are key!


This video demonstrates a tempo that minimizes momentum during the changes of direction. Slow down to get the most out of the weight you use!

Controlling momentum requires complete control during the changes of direction that occur within an exercise. Learning to move this way will ensure you create the safest, most effective exercise possible.

While exercising, follow this simple rule for the health of your joints:

Use muscle to move, not momentum!


Learning to control momentum includes knowing when to use it. The last 3 reps of these dumbbell rows occur after the weight could no longer be moved slowly.

Be slow but powerful!

Move the weight like an 18-Wheeler taking off from a dead stop!


Unless you are training to play a particular sport you will probably benefit by slowing things down!

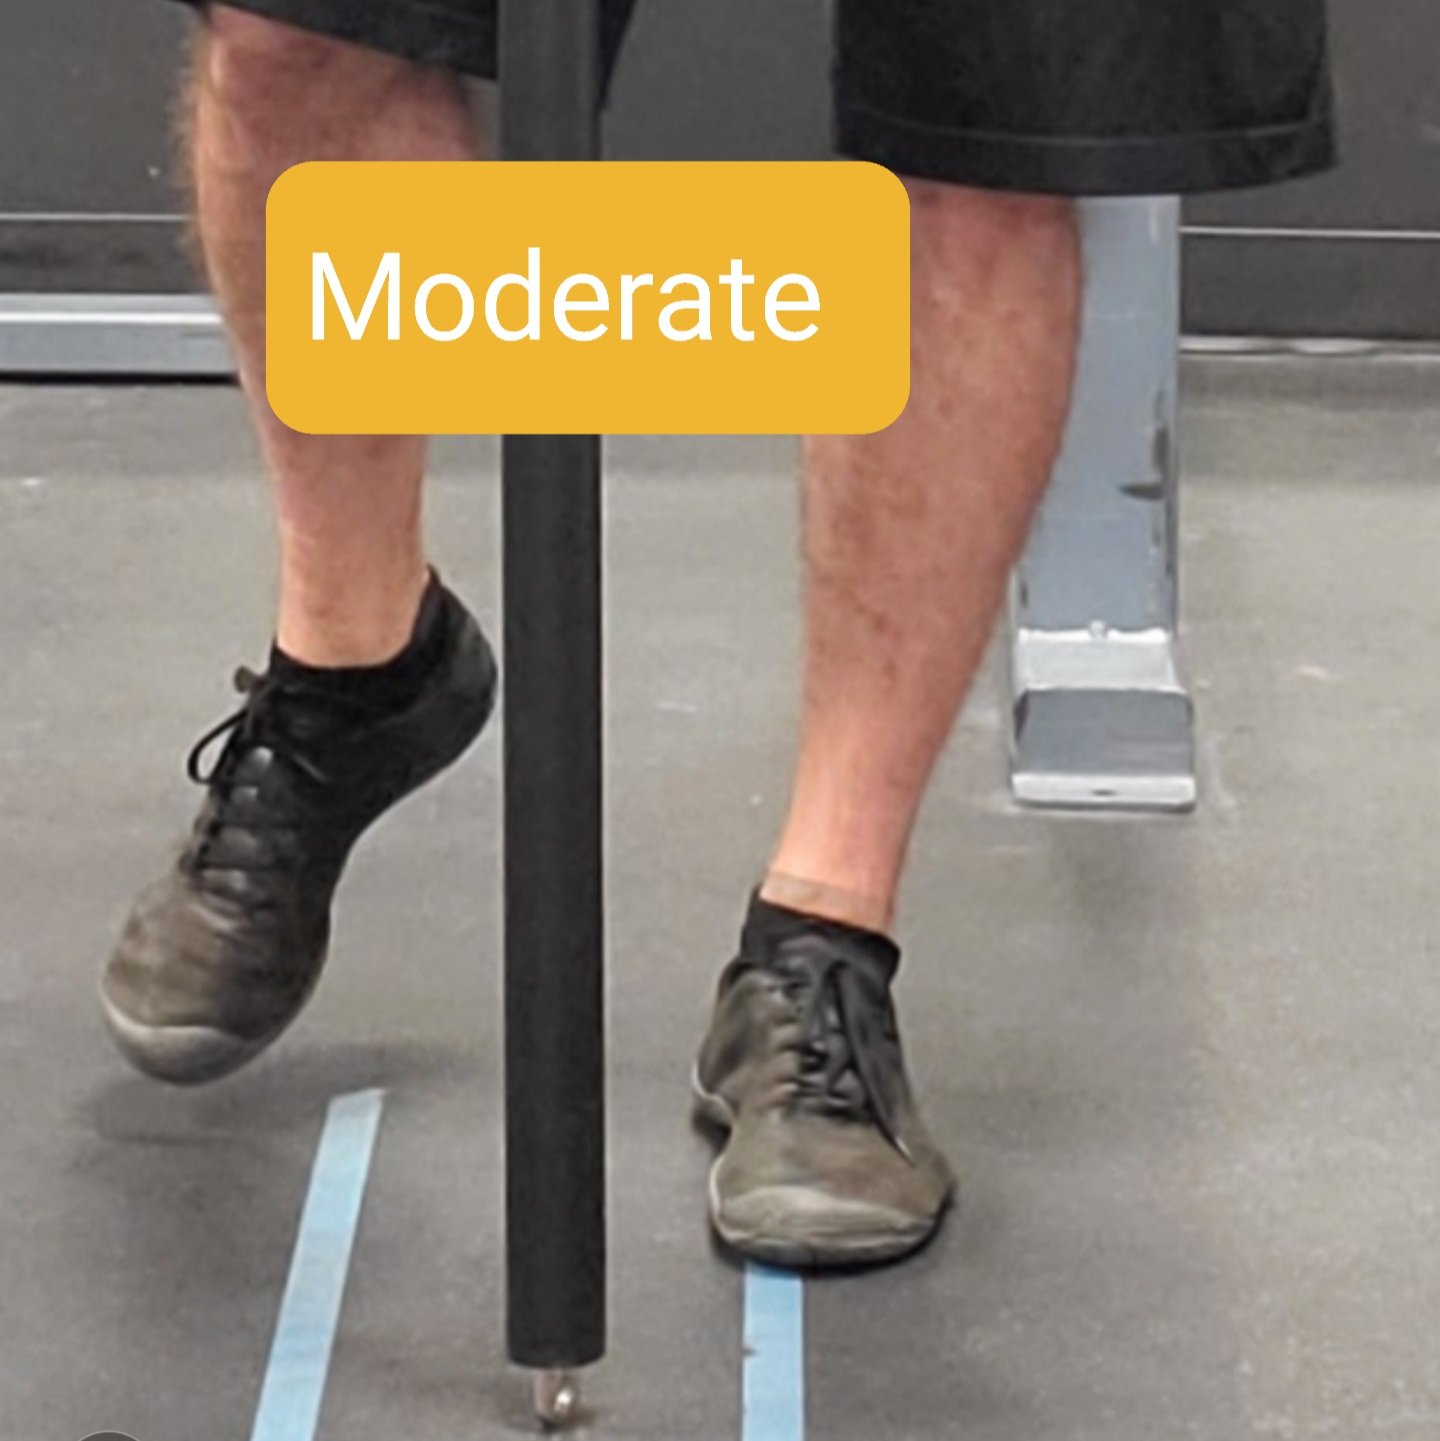
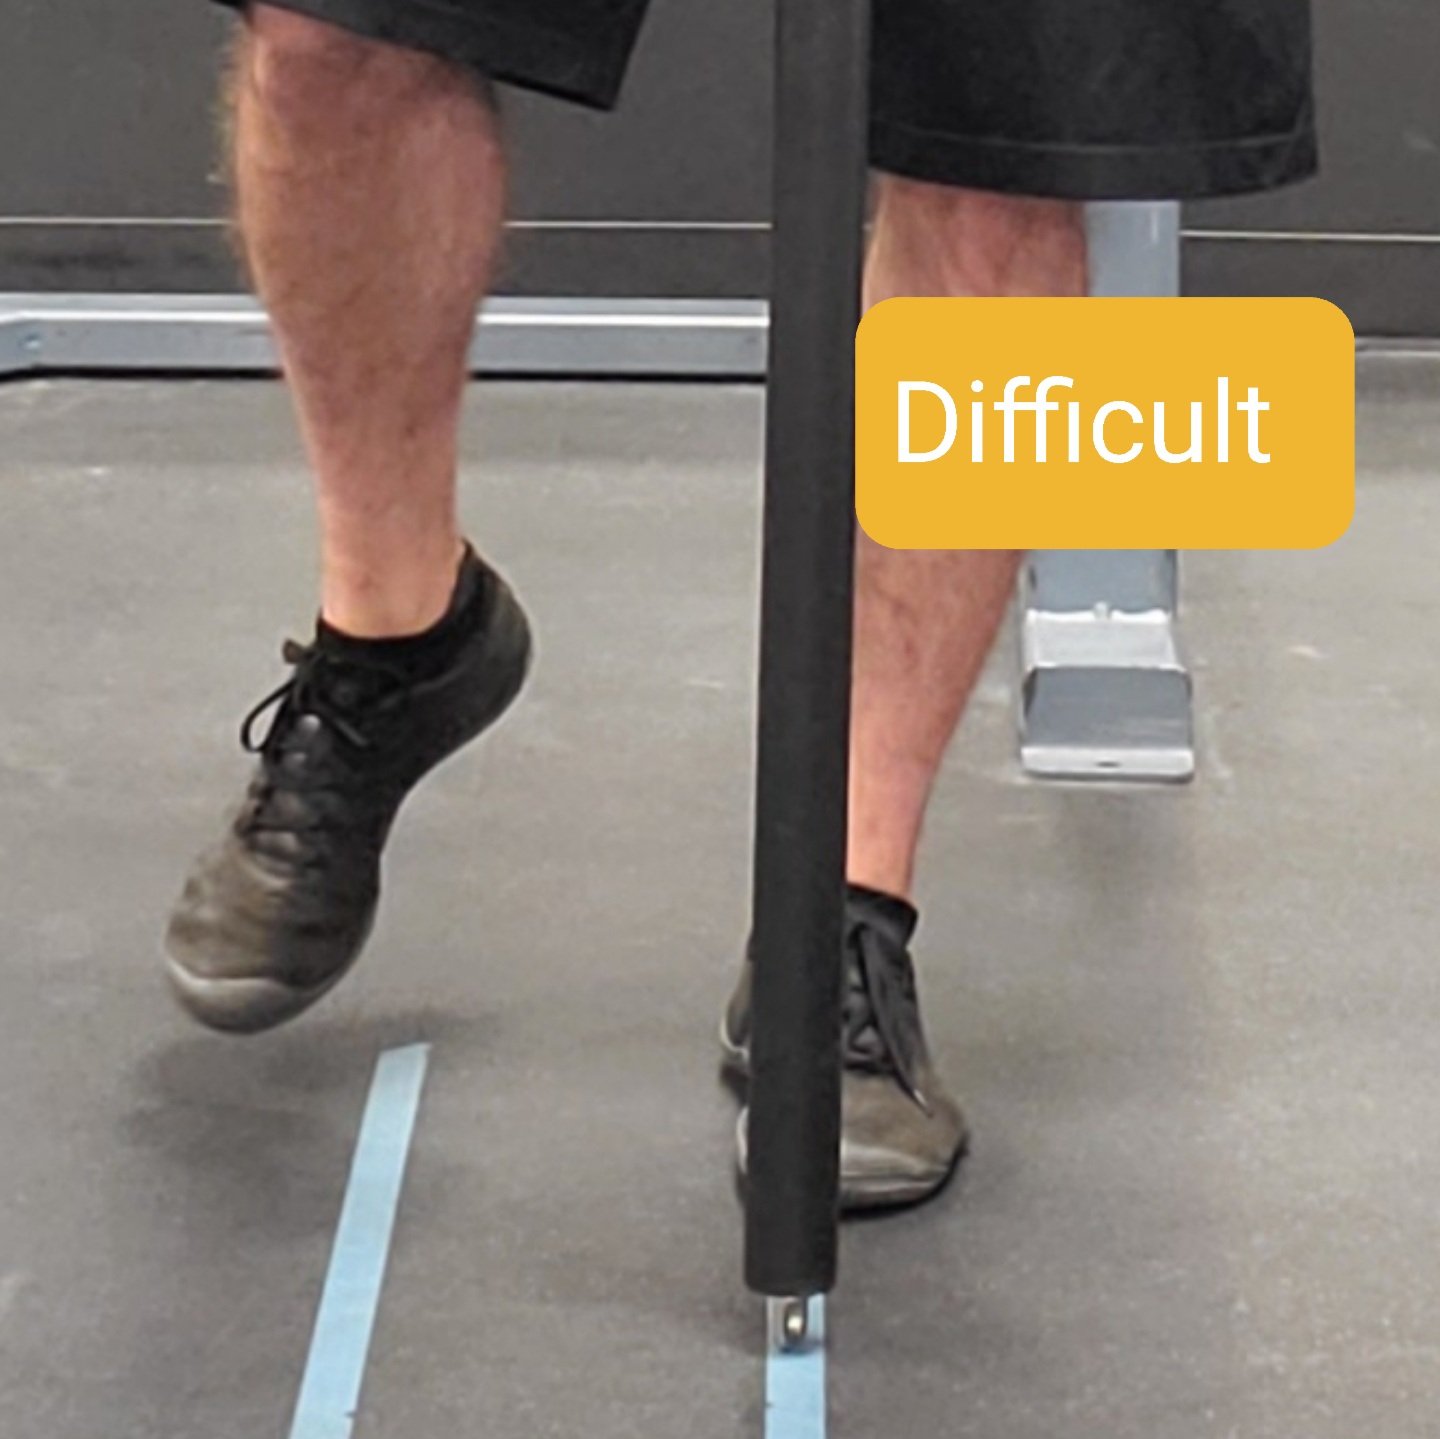
The slower the change of direction the less chance of impact and injury to your joints!

It will take deliberate practice to learn to control your speed, especially when the weight gets heavy! Moving slowly will allow you to push yourself safely!


Pay close attention to the speed I am moving! Practice keeping a consistent speed even as you get tired!

This is a safe and effective “default tempo” to use on most resistance training exercises.

The 4-Step Default Tempo:

  1. Begin the movement by slowly building up force.
  2. Maintain a consistent speed once enough force has been developed and the movement begins.
  3. Slow down before the stop at the end of the range of movement!
  4. Reverse direction slowly and deliberately!

Leg Strength for Balance and Mobility

Here is a 3 Step routine that can be done anywhere with no special equipment!


1. Warm up with some mobility drills.


2. Challenge your leg strength with the following exercise:


3. Follow up with a bit of this to round things out!


Keys to Success:

  • Start each exercise with an easy, “warmup” round.
  • Move slowly and pause at the points where you change directions. Follow the 4-Step Default Tempo!
  • Increase the challenge over the course of several bouts – don’t get greedy!

Balancing on One Foot

Standing on one foot is an important skill to continually challenge throughout your entire life! Here’s an example of a balance exercise I may use with some of my clients.

Not everyone can “just stand” on one foot. Having a way to easily increase or decrease the challenge is the key to making progress!


Use the stick to give just enough help!

  1. Place one end of a stick or cane on the floor in front of the foot you will pick up.
  2. Shift your weight to one foot and lift the other while holding the stick to help maintain balance.
  3. Use the stick as needed to assist you in keeping balance.
  4. To increase the challenge, follow the steps below:

To increase the challenge:


To make the exercise more difficult, move the stick closer to being directly in front of the foot you stand on.


A Small Change Goes A Long Way!

Keep working at consistently over time it until you are able to keep balance with the stick right in front of your foot. (As shown in the picture)

By this time you can probably start standing on one foot without the help of the stick!


How to Adjust the Difficulty:

To make things harder just move the stick a little closer to being in front of the foot you stand on!


  • Start somewhere! If the challenge is too easy, adjust to make it more difficult!
  • Find a position that becomes challenging to maintain from 30 to 60 seconds!
  • Be patient and work your way up slowly and consistently!

Alternatives to the Stick:

  • Cane
  • Hiking Pole
  • Broom / Swiffer Mop
  • Wooden Dowell

Get creative guys! All you need is something to hold onto that gives you just enough assistance to make the exercise challenging.

Try pairing this exercise with some other Leg Exercises for Balance and Mobility

Exercise for Hurt Wrist and Hands

For my clients with wrists that hurt, I’ve found the small changes can make all the difference in their ability to exercise comfortably.


Try a Slant on Pushing or Pulling Exercises:

For exercises that involve pusing or pulling a handle, try adjusting the grip to have a slight forward angle in your hand. For some of my clients the difference is dramatic!

Placing handles at a forward slant in the hand is a more comfortable position for many of my clients.

Sometimes we just need more to grip.

For some clients, if I am able to thicken the bar in their hand it can allow them to push more comfortably.


Don’t forget to work the other side!

Working the muscles that extend the fingers and wrist are just as important!

Achy Shoulders?

The first step is to ask why. Why are your shoulder hurting? Is it from arthritis and decades of wear and tear? Or could it be from the way you have been working out that has now become a repetitive-use-injury? Either way, you will likely benefit from making a change.

Try some small changes to your exercises:


Rotator cuff exercise can be done at home:


Have a Theraband left over from PT?


Change your position on the lateral raise machine:


Facing into the arm of the machine creates a more joint friendly position for the shoulder. Try this instead of working both arms at the same time.